Page 51 - TesaKatalogen
P. 51
E x ter n al M i c r o meters

     Precision Measurement

     Precision measurement requires the use of micrometers. In 1848, the first measuring tool
     of this type was patented by the French inventor Jean Laurent Palmer as "calibre à vis
     et à vernier circulaire" (screw caliper with a circular vernier). Today, we continue to make
     external micrometers with these typical features. The introduction of the micrometer to
     the mechanical world came about due to the visit of the two American engineers, Joseph R.
     Brown and Lucian Sharpe to the Paris Exhibition in 1867. At that time, their attention was
     drawn to Palmer’s invention, which greatly interested them. After some improvements of
     Palmer's design, the product was manufactured on a large scale and marketed successfully
     by the two partners. History repeated itself years later as TESA SA decided to manufacture
     external micrometers, making them the first products produced by the company.

     Whether for internal or external measurement, TESA micrometers are distinguishable for
     their construction and quality. All our models respect the ABBE principle with the exception
     of the models with large mearing anvils for the measurement of gear teeth for example.

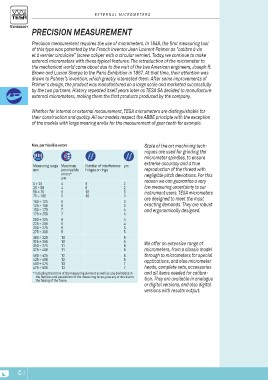
     Max. permissible errors                                                        State of the art machining tech-
                                                                                    niques are used for grinding the
     Measuring range Maximum      Number of interference µm                         micrometer spindles, to ensure
     mm permissible               fringes or rings                                  extreme accuracy and a true
                                                                                    reproduction of the thread with
                         errors*                                                    negligible pitch deviations. For this
                         µm                                                         reason we can guarantee a very
                                                                                    low measuring uncertainty to our
     0 ÷ 25     4                 6   2                                             instrument users. TESA micrometers
     25 ÷ 50    4                 6   2                                             are designed to meet the most
     50 ÷ 75    5                 10  3                                             exacting demands. They are robust
     75 ÷ 100   5                 10  3                                             and ergonomically designed.
                                                                                    We offer an extensive range of
     100 ÷ 125  6                     3                                             micrometers, from a classic model
     125 ÷ 150  6                     3                                             through to micrometers for special
     150 ÷ 175  7                     4                                             applications, and also micrometer
     175 ÷ 200  7                     4                                             heads, complete sets, accessories
                                                                                    and all items needed for calibra-
     200 ÷ 225  8                     4                                             tion. They are available in analogue
     225 ÷ 250  8                     4                                             or digital versions, and also digital
     250 ÷ 275  9                     5                                             versions with results output.
     275 ÷ 300  9                     5

     300 ÷ 325  10                    5
     325 ÷ 350  10                    5
     350 ÷ 375  11                    6
     375 ÷ 400  11                    6

     400 ÷ 425  12                    6
     425 ÷ 450  12                    6
     450 ÷ 475  13                    7
     475 ÷ 500  13                    7

     * Including the errors of the measuring element as well as any deviations in
       the flatness and paralellism of the measuring faces, plus any errors due to
       the flexing of the frame.

C-2

