Page 77 - TesaKatalogen
P. 77
I n t e r n a l Me a s u r e m e n t

     THE CHALLENGES OF INTERNAL MEASUREMENT

     Bore measurement is more difficult than external measurement of components. Apart
     from the very tight tolerances specificied, all measuring elements having a direct influence
     on the uncertainty of measurement must be designed in such a way that they can fit into the
     bore to be checked.

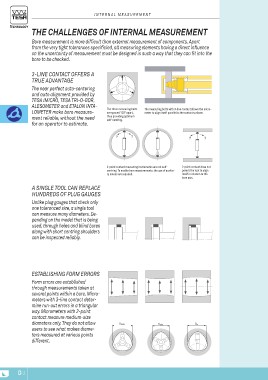
     3-Line contact offers a               The three measuring bolts  The measuring bolts with 3-line contact allows the micro-
     true advantage                        are spaced 120° apart,     meter to align itself parallel to the contact surfaces.
     The near perfect auto-centering       thus providing optimum
     and auto alignment provided by        self-centring.
     TESA IMICRO, TESA TRI-O-BOR,
     ALESOMETER and ETALON INTA-
     LOMETER make bore measure-
     ment reliable, without the need
     for an operator to estimate.

                                           ??                                                                                           ??

                                                                            2-point contact measuring instruments are not self-         2-point contact does not
                                                                            centring. To enable bore measurements, the use of auxilia-  permit the tool to align
                                                                            ry means are required.                                      itself in relation to the
                                                                                                                                        bore axis.
     A single tool can replace
     hundreds of plug gauges
     Unlike plug gauges that check only
     one toleranced size, a single tool
     can measure many diameters. De-
     pending on the model that is being
     used, through holes and blind bores
     along with short centring shoulders
     can be inspected reliably.

     Establishing form errors              Dmax.                      Dmin.
     Form errors are established
     through measurements taken at
     several points within a bore. Micro-
     meters with 3-line contact deter-
     mine run-out errors in a triangular
     way. Micrometers with 2-point
     contact measure medium-size
     diameters only. They do not allow
     users to see what makes diame-
     ters measured at various points
     different.

D-2

